
AMT Setup
This page guides you through the process of installing the AMT software in a new environment.
Preparing the installation
To prepare the AMT installation, first download the required files and create the necessary directories. Start by downloading the latest AMT release from the Avanade Service Portal.
| AMT release files use the naming convention AMT_<version>.dat. For example: AMT_101.dat. |
| Reviewing the system requirements |
|---|
| Please review the System Requirements before you continue. |
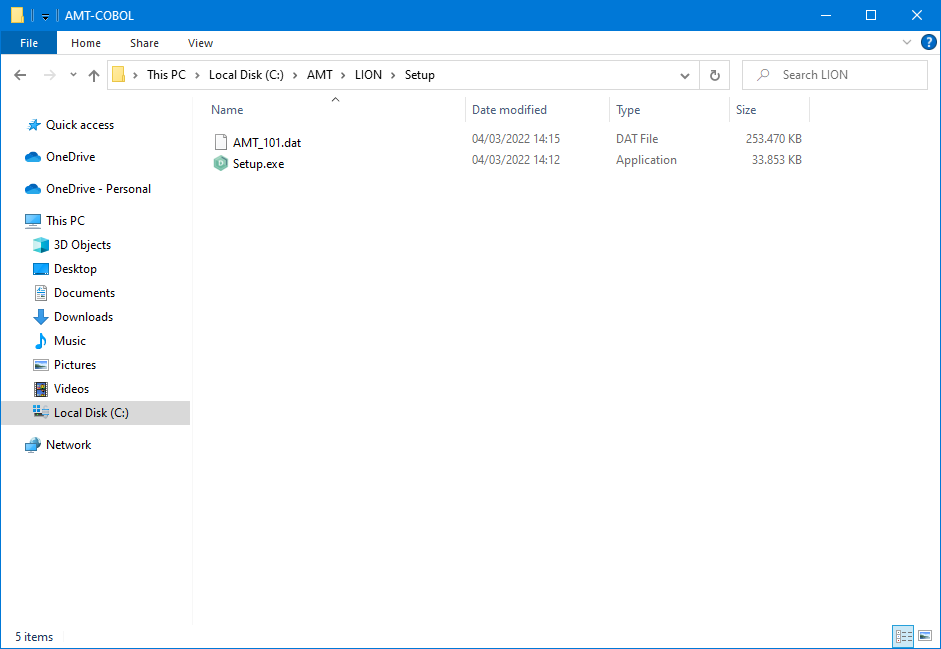
Create a new directory for the AMT environment, and then create a Setup directory inside it. For example: ..\AMT\LION\Setup.
After the required files are downloaded, copy the downloaded Setup.exe file and the .dat file into the new Setup directory.
Installation
After the files are copied into the Setup directory, run Setup.exe. Setup first tries to detect an existing AMT environment in the current directory. The setup log states "Ready to update Lion" after detection is complete. If no previous AMT installation is found, Setup prompts you to start a clean installation. Select OK to start the installation.
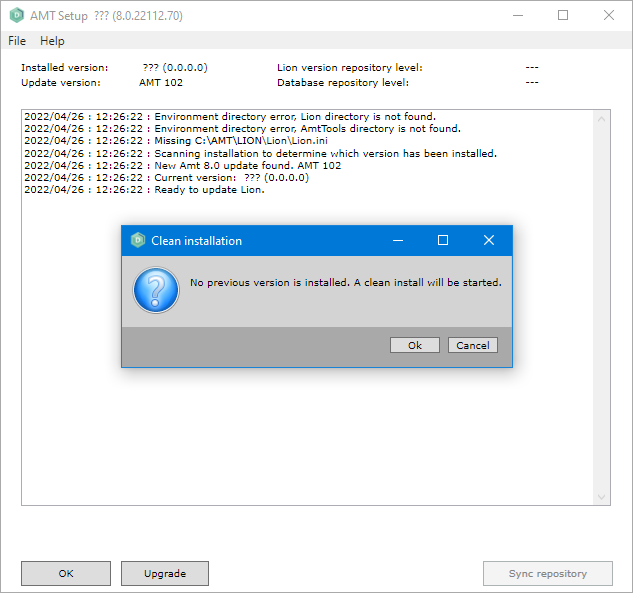
| Setup indicates that the lion.ini file is missing. This is normal the first time you run Setup. |
The setup log states "Update completed OK" and lists the installed version when Setup finishes successfully. Select OK to close Setup.
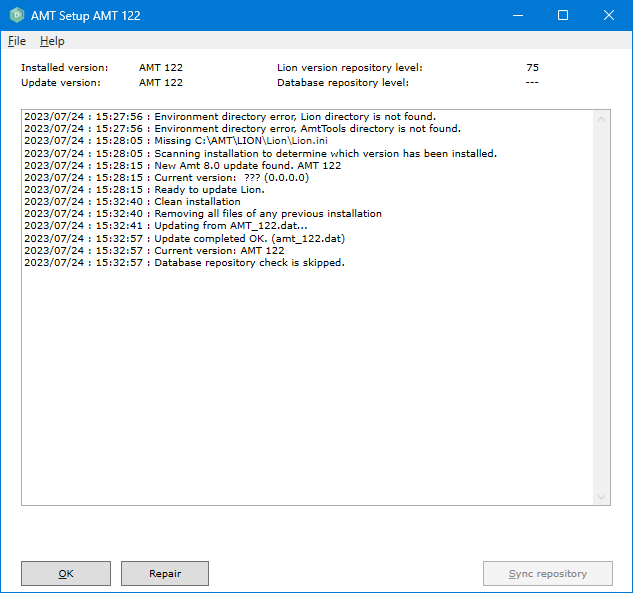
| Note that the setup log indicates that the database repository check was skipped. You must synchronize the repository, which is covered in Finalizing the installation. |
New directories are created during Setup. You can find them in the directory of your AMT environment.
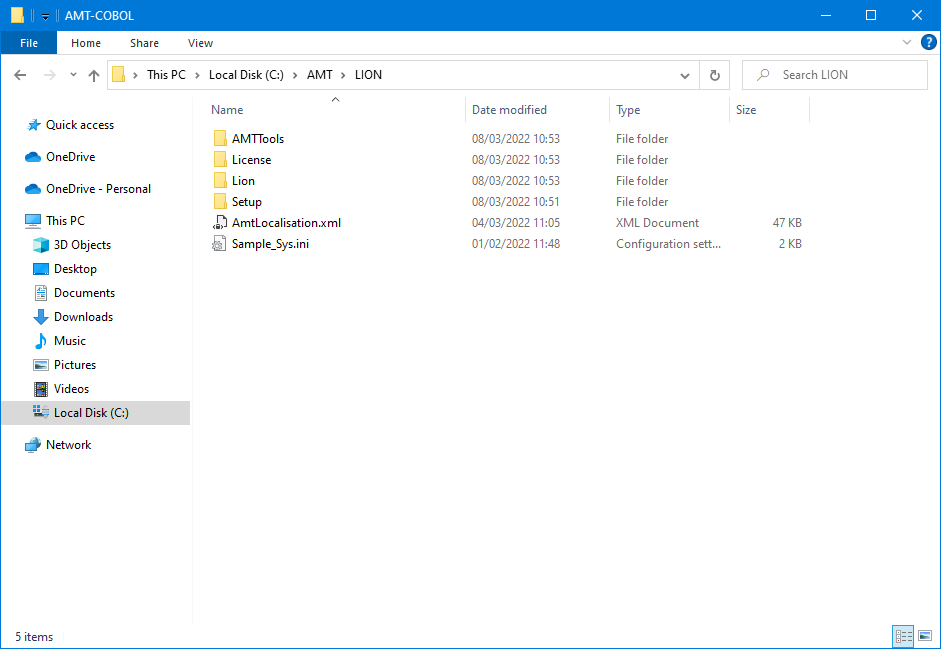
Although Setup has completed the software installation, you must configure the lion.ini file and synchronize the repository before starting AMT Developer Studio.