AMT Help Files

First Time Setup
First Use of the Control Center
Open an internet browser and navigate to the URL of the web application of the Control Center.
Logging in to the Control Center
Upon accessing the Control Center, the user is first presented with a login button.
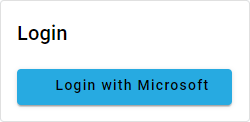
The login dialog of the Control Center.
Control Center Setup Wizard
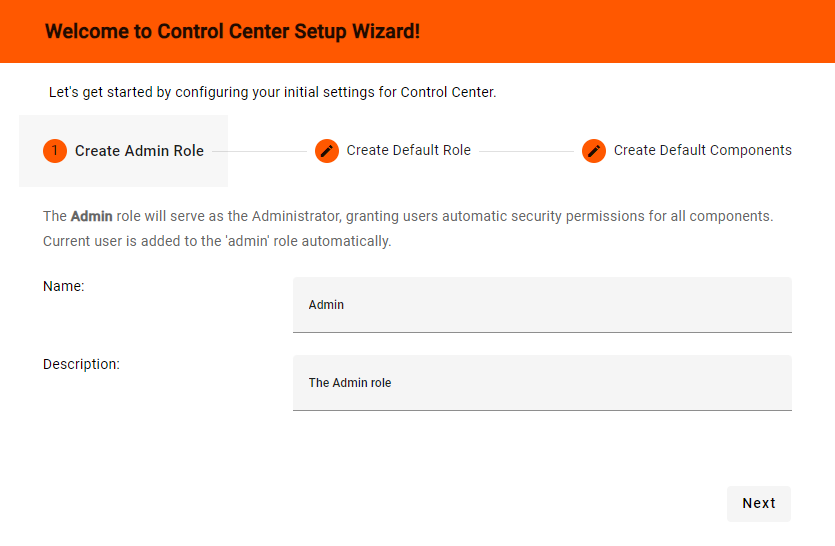
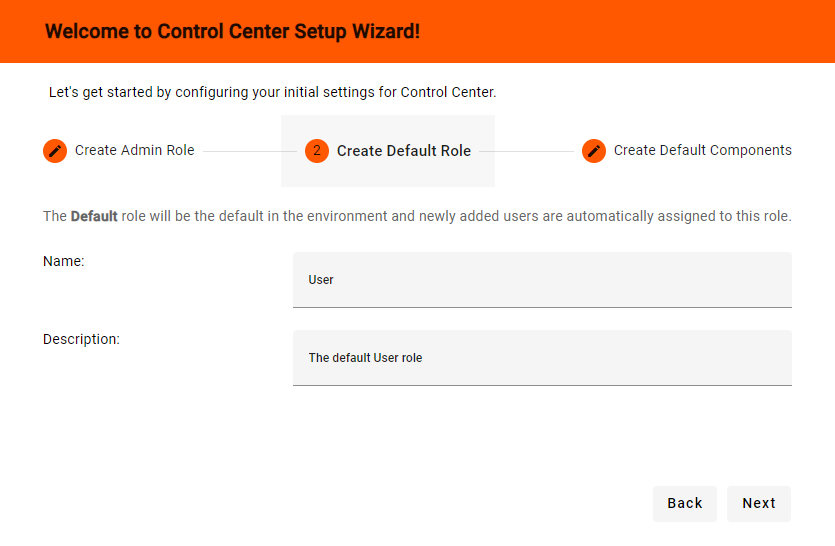
After logging in, the Wizard for first time setup is started. In the Wizard, the administrator is guided to do the following:
- Create an Admin Role. The first user account will be created and designated as administrator.
- Create a Default Role. Newly added users are assigned to this role.
- The Security option to automatically register
new users is enabled by default. To change this setting, navigate to Security → Configuration after completing
the Control Center Setup Wizard.
New Users If automatically registering new users is enabled, these users are assigned to the default role.
- The Security option to automatically register
new users is enabled by default. To change this setting, navigate to Security → Configuration after completing
the Control Center Setup Wizard.
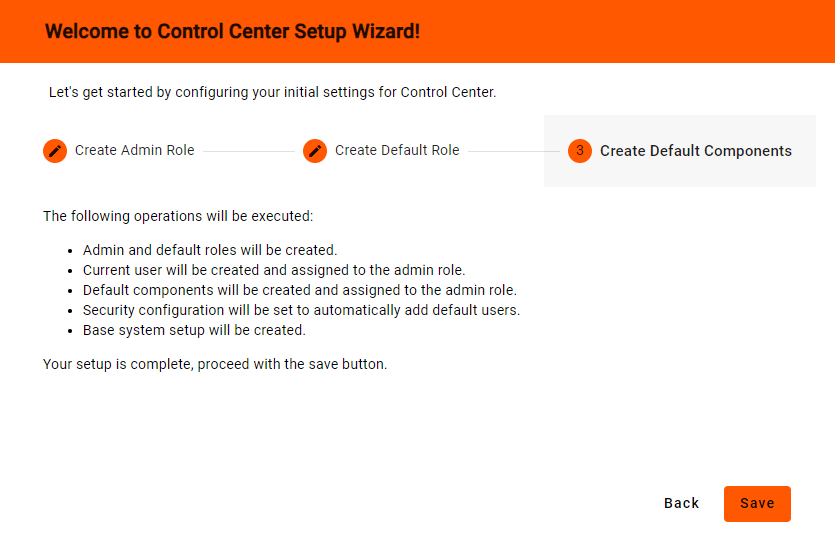
- An overview is displayed, confirming the following:
- The current user is assigned to the Admin Role.
- Default components will automatically added.
- Default components will be assigned to the Admin Role.
- Security configuration will be set to automatically register new users.
- Base system setup will be created.
- Click the
 button to execute the above configuration.
 |
 |
 |
Creating a Runtime Configuration
A runtime configuration consists of a set of Basepaths, a Logging Configuration, and a Runtime behavior Configuration.
| Each item will later list the Configurations and Applications making use of the runtime configuration. |
|---|
Basepaths
- Navigate in the Control Center to Settings → System setup → Basepaths.
- Click on the
 button to add a new set of basepaths.
 - Enter a description for this set of basepaths.
- Fill out each basepath field with a folder path.
- Script path: %SYSROOT%\scripts\%APPNAME%
- Extract path: %SYSROOT%\files\Extracts\%APPNAME%
- Print path: %SYSROOT%\files\Prints\%APPNAME%
- Call path: %SYSROOT%\Lbx
- Help path: %SYSROOT%\Help
- Log path: %SYSROOT%\Logging
This structure of basepaths is a workable default for an AMT environment.
- Click on the
button to save the changes made.
See the Basepaths section for information about each path.
Logging Configuration
- Navigate in the Control Center to Settings → System setup → Logging Configurations.
- Click on the
button to add a new logging configuration.
- Enter a description for this logging configuration.
- Configure the settings according to the requirements of the environment (the default settings may be used if there are no specific logging requirements).
- Click on the button to save this configuration.
See the Logging Configurations section for information about each option.
Runtime behavior Configuration
- Navigate in the Control Center to Settings → System setup → Runtime behavior Configurations.
- Click on the
button to add a new runtime behavior configuration.
- Enter a description for this runtime behavior configuration.
- Configure the settings according to the requirements of the environment (the default settings may be used if there are no specific runtime requirements).
- Click on the button to save this configuration.
See the Runtime behavior Configurations section for information about each option.