AMT Setup
This page will guide you through the process of installing the AMT software in a new environment.
Preparing the Installation
To prepare the AMT installation we first have to download the required files and create the necessary
directories.
To start, download latest AMT release from the Avanade Service Portal.
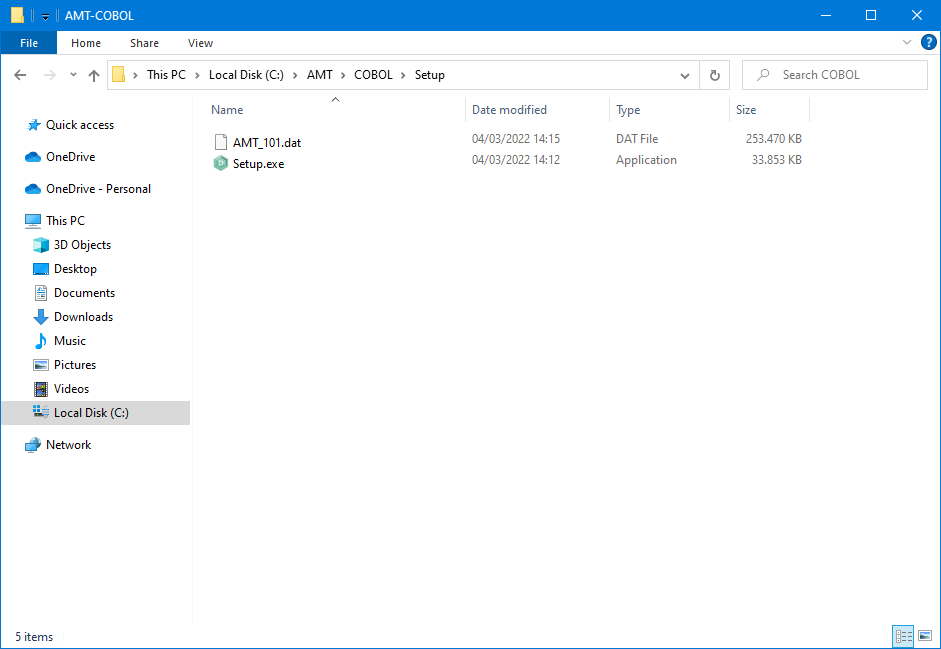
| AMT release files are distributed with the name structure AMT_<version> and extension
.dat. For example: AMT_101.dat. |
| Meeting the system requirements |
|---|
| Please review the System Requirements before proceeding. |
Now create a new directory for the AMT environment with a Setup directory inside. For example: ..\AMT\COBOL\Setup.
After the required files have been downloaded, copy the downloaded Setup.exe and the .dat file into the newly created Setup directory.
Installation
After the files have been copied into the Setup directory, run Setup.exe. Setup will first attempt to detect an already installed AMT environment in its directory. The setup log will state "Ready to update Lion" after detection has completed. If no previous AMT installation was found, then setup will prompt you to start a clean installation. Select Ok to start the installation.

| Setup will state that the lion.ini file is missing. This is normal when setup is started for the first time. |
The setup log will state "Update completed OK" and lists the currently installed version when setup has finished successfully. Select OK to close setup.
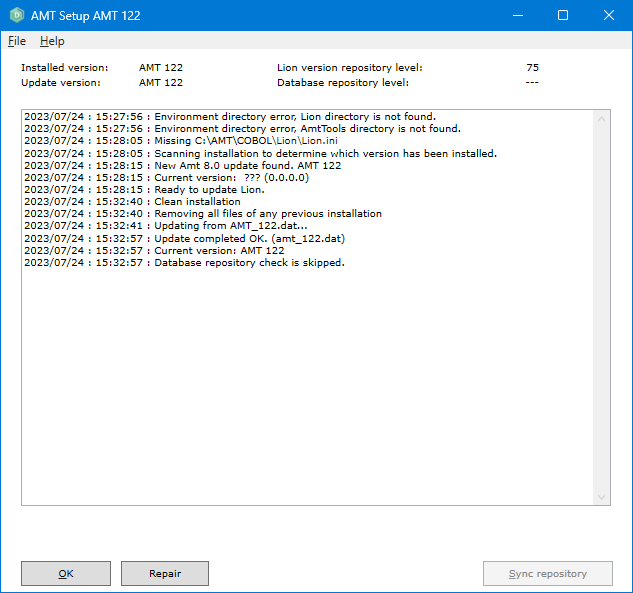
| Note that the setup log states that the database repository check was skipped. Synchronizing the repository is necessary and will be revisited when finalizing the installation. |
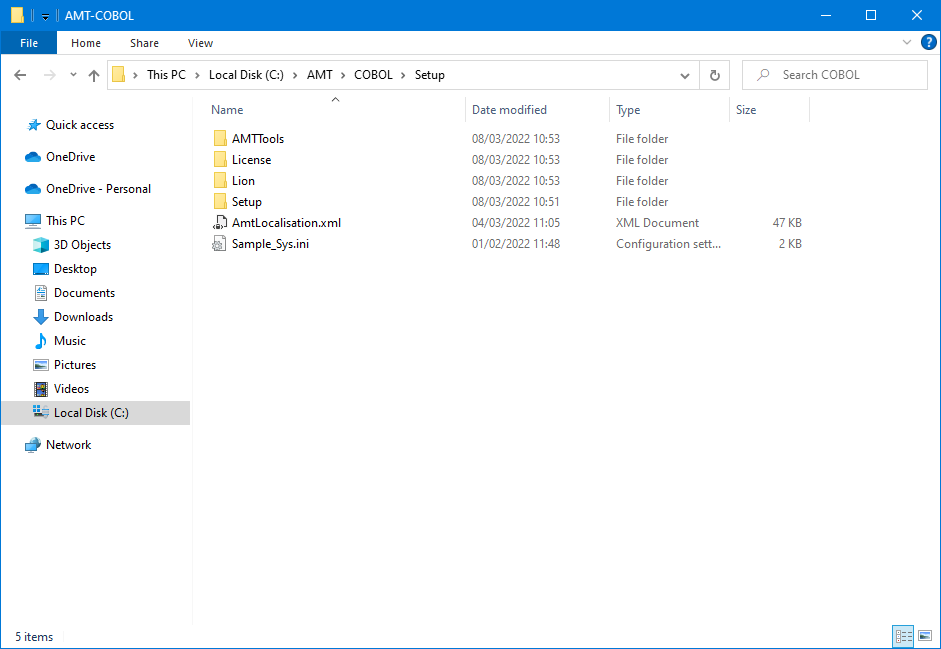
New directories are created during setup. These can be found when browsing the directory of your AMT environment.
Although setup has now completed installing the AMT software, it is required to configure the Lion.ini file and synchronize the repository first before starting the AMT Developer Studio.