Imagelists
Creating an Image list
To create a new Image list object, do as follows:
- Open the folder for the application to which you want to add the Image List.
This is done from the Repository window. - Select the folder "Imagelists" or one of the underlying subfolders and insert a new Image list.
This can be done by right-clicking on the selected (sub)folder and choosing "Insert Imagelist" from the popup-menu. A dialog box will be displayed: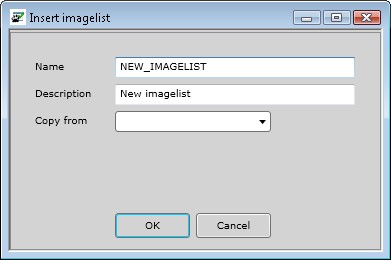
- Specify the parameters for the Image list in the displayed window.
From the "Copy From" listbox, you may choose an existing Image list to copy as an a new Image list for your application. - Click "OK" to add the Image list, and to define its settings.
- Select the nodes to set the applicable options.
More details about the screens that are linked to these nodes can be found by clicking the applicable link under "Adjusting an Image list". - Add images to the image list in the Images screen
- Save the Image list.
The save buttons can be found in the top toolbar of the Developer.
Adjusting an Image list
If you double click on an Image list, the following options for that Image list will appear:
Deleting an Image list
An Image list can be removed from the repository through the screen "Revision Control".
| To display images of an imagelist, they must be located in the folder <ApplicationBasepath>ClientGui\Bitmaps\ImageList on the same server as the Filecontroller is installed. This is also the case when the application services are located on a separate server. |