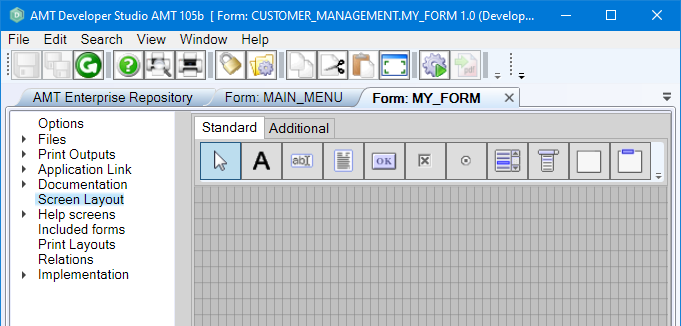
Screen Layout
A form's layout can be found by opening a form and selecting the Screen Layout node. If multiple languages are used for an application, a selection of languages for the form will be displayed. The window view that is displayed is the Paint menu, in which a layout can be designed. Form objects contain a separate screen layout for each language. Non-visual changes made to one of these language versions of the form automatically get applied to other versions. See the Languages page for more information.
The Screen Layout's Paint view
Using the Left Mouse Button anywhere in the Paint view of the Screen Layout reveals its properties as shown in the image below.
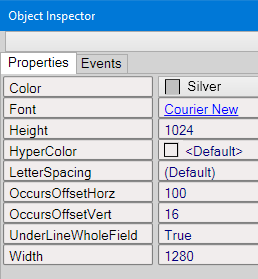
If an object in the layout is selected, the properties of the selected object become visible and can be edited in the object inspector. The properties of objects can also be altered in code in the Implementation view. Code routines could also be executed when, for example, an end user presses a button on the form. Visit the Object Inspector page for more information.
Form Objects, Placement & Controls
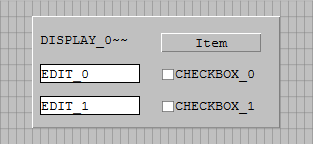
To begin placing an object, first select an object type from the toolbar.

Click anywhere in the Paint window to place the object.
Available Objects
- Layout Frame
- Label
- Edit Box
- Memo
- Button Group
- Check Box
- Radio Button Group
- List Box
- Combo Box
- Panel
- Group Box
- Shape
- Image
- Page Control
- Chart
- Scroll Box
- Calendar
- Dynamic Form
- List View
- Menu
- Timer
- Mask Edit Box
- File Uploader
Controls
Select an already existing object from the Paint view to configure it in the Object Inspector, or select and drag the object to move it around.
To make a selection of multiple objects, hold the Ctrl key and individually select multiple objects to manipulate several objects at the same time. Alternatively, hold the Ctrl key and the Left Mouse Button, then drag the cursor to make a selection of multiple objects.
Press the Delete key to delete the selected object(s), or alternatively press the right mouse button and select Delete from the context menu.
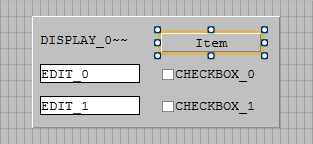
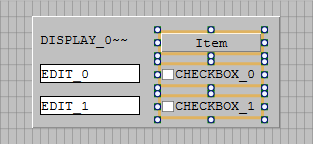
Selected objects can be aligned by using the Align tool, which can be opened using the F4 key.
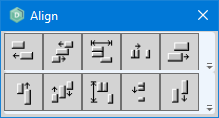
The following images show an example of misaligned objects becoming aligned using the Align tool:
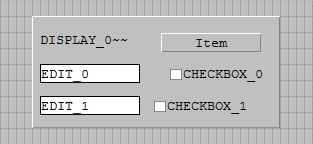
See the Aligning Visual Objects page for more information.
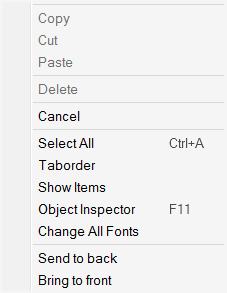
Context Menu Options
Pressing the Right Mouse Button anywhere in the Paint view opens the context menu options. The options Show Items, Taborder, and Object Layering (to Send to back and Bring to front) are described below
Show Items
Navigating the context menu and selecting Show Items displays the Items view. This view lists all objects of a form and the properties of each object. The Object Inspector opens after selecting an object, in which the object can be edited the same was as in the Paint view

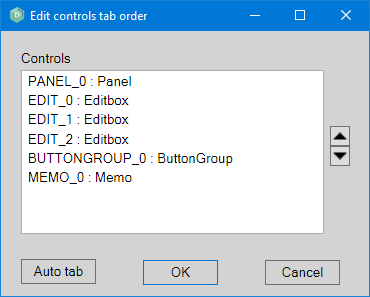
Taborder
A tab order allows the end user to subsequently tab through the form's visual elements using the Tab key on the keyboard.
Navigating the context menu and selecting Taborder displays a dialog window in which it is possible to edit the tab order. The tab order can be changed using the Up- and Down Arrow buttons to reorder the list of objects.
Alternatively, selecting the Auto tab button will cause the tab order to automatically be set according to the position on the form—left to right, top to bottom. The top-left most object will be set to 0 and the bottom-right most window receives the highest TabNumber.
Another way of manually configuring the TabNumber is by selecting an object and changing its TabNumber value.
Unless the form's option Taborder based on left-top is enabled, the initial focus will always be set to the object with the lowest TabNumber setting. See the Tab Order page for more information.
| Objects that have the TabStop property set to False are ignored when tabbing through objects. |
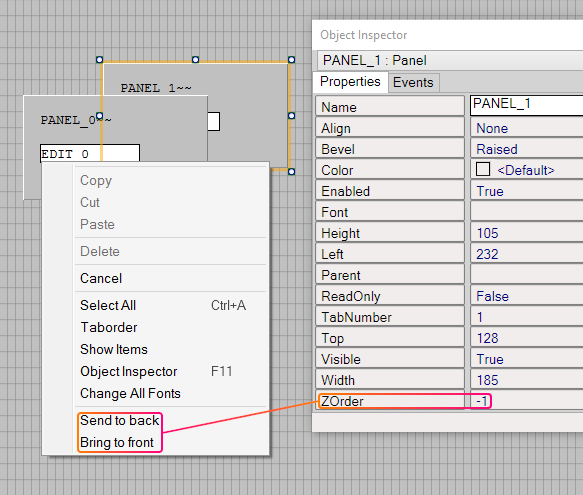
Object Layering
Form Objects can overlap and be placed on top of one another. One way of achieving this is by selecting an object and pressing the right mouse button to open the context menu and then selecting Send to back or Bring to front to place an object behind others, or in front of others, respectively. Alternatively, the ZOrder property of an object can be changed manually in the Object Inspector.